If you love DIY crafts and crystals, crystal-themed projects are perfect for you. Let me tell you a story about how crystals sparked my creativity.
A few months ago, I hit a creative block. My ideas were dull, and I couldn’t find inspiration. A friend recommended using crystals in my art. I was curious, so I got some crystals like carnelian, citrine, and lapis lazuli.
I put these crystals near my easel while painting. Their energy changed my mindset. The carnelian’s orange color sparked my imagination. Citrine’s yellow cleared my doubts. Lapis lazuli helped me express my thoughts clearly.
With each brushstroke, I felt more creative and true to myself. The crystals helped guide and boost my art. I was thrilled with the outcome.
This experience inspired me to share crystal projects with you. Whether you paint, sculpt, or make jewelry, there’s something here for you. Let’s dive into these ideas and spark our creativity together.
Key Takeaways
- Crystal creativity projects offer a unique way to combine artistic expression with the benefits of crystal energy.
- Incorporating crystals into your creative process can enhance inspiration, clarity, and self-expression.
- Crystals like carnelian, citrine, and lapis lazuli are known for their creative properties and can be used to stimulate artistic flow.
- Practical tips include creating a Crystal Grid, carrying Pocket Stones, meditating with Crystals, creating Crystal Elixirs, wearing crystal Jewelry, and placing Bedside Crystals for creative dreams and ideas during sleep.
- Let the power of crystals ignite your inner artist and transform your creative projects.
Now, let’s explore the exciting world of crystal creativity. Let your imagination run wild.
Incorporate Crystals into Watercolor Artwork
Creating crystal-inspired artwork is a fun way to mix beauty and art. Use minerals and gems to make paintings that look like nature’s vibrant colors and patterns.
Start your project with a strong canvas or 90 lb watercolor paper. Choose Crayola Artista II watercolors for their wide color range and smooth texture. This makes blending and layering easy.
Try different techniques in your watercolor art. Use Ticonderoga Pencils to sketch your crystal design first. This helps you get the shapes and details right.
Pick your watercolor colors to match your crystal’s look. Use Prussian Blue and dark gray for depth and richness. Add white gel pen highlights for extra detail.
Feel free to add more crystals or change colors for a unique look. Metallic Sharpies can add shimmer, like real crystals do.
When you’re done, you can glue your art to construction paper for stability.
To make your art even better, add real gems or gemstone embellishments. This mix of painted and real crystals looks amazing.
Adding crystals to your watercolor art is great for both new and experienced artists. It lets you explore new ideas and creativity. Crystals add a magical touch to your art, making it special.
Watercolor Magic Fantasy Crystal Clipart
For more crystal-themed watercolor art, check out the Watercolor Magic Fantasy Crystal Clipart on Etsy. It costs $1.40 and includes 25 high-quality JPG files. Each file is 3000 x 3000 pixels.
This clipart can add depth and details to your art. The license lets you use it for personal or commercial projects, but not for freebies or resale.
Let your creativity shine by adding crystals to your watercolor art. Explore projects that blend crystal beauty with watercolor artistry. Your imagination is the limit.
Artist sharing the tutorial is Melinda (@mellie.zee on Instagram).
Grow Your Own Borax Crystals
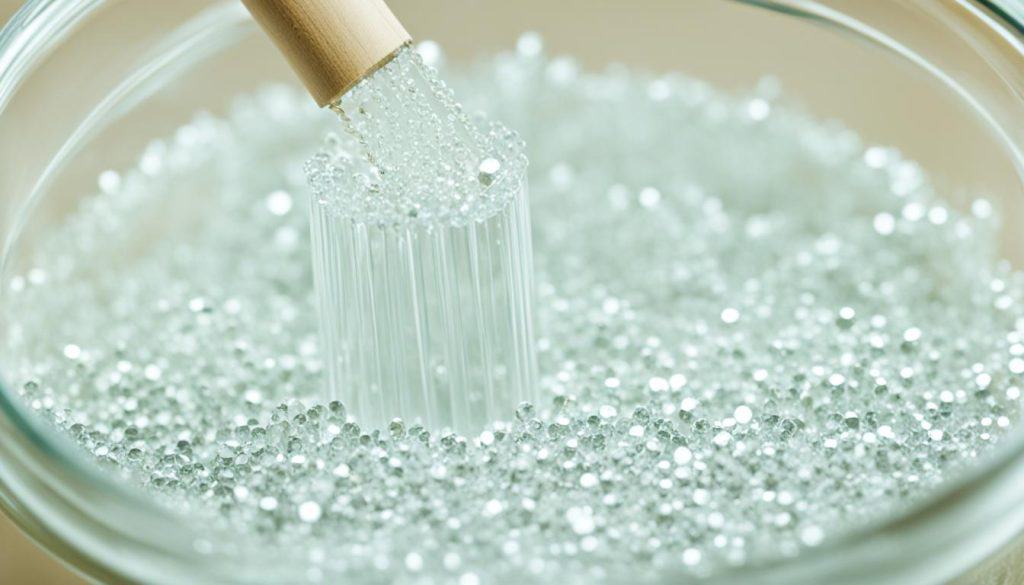
Grow your own borax crystals with a simple DIY science experiment. Use borax and different concentrations to see crystals grow. This project lets you learn about crystallization hands-on. You can try various shapes and designs, making it fun for kids and adults alike.
To begin, gather 3/4 cup of Borax and 2 cups of boiling water. Borax is a natural compound made from boron, sodium, and oxygen. It’s often used as a laundry booster or cleaner. When mixed with hot water, it creates a supersaturated solution perfect for crystal growth.
Crystals take 8 to 24 hours to fully form. Add color to your crystals with pipe cleaners in various colors. Shape them into snowflakes or other designs, then hang them in the borax solution. The crystals will attach to the pipe cleaners, forming beautiful patterns.

But you don’t just have to use pipe cleaners. Try growing crystals on artificial flowers, pine cones, or egg shells. For better coverage, use a higher borax concentration. This helps the solution stick to the object, resulting in bigger crystals.
After the crystals form, you can reuse the borax solution for laundry or drain it carefully. To keep the crystals looking great, spray them with an acrylic finish. This protects them and makes them shine.
Remember to be safe when working with borax. Always wear eye protection and use the right containers. You can also get bigger crystals by using the stove-top method instead of the microwave. Just be patient and make sure the solution is supersaturated.
Borax crystals are versatile and beautiful. Once grown, you can use them for many projects, like making ornaments or decorations. If they touch water, you can dissolve them and reshape them.
So, why not try this exciting DIY science experiment? Let your creativity flow as you watch the crystals grow on different objects. Be amazed at the beauty that emerges.
Create Edible Sugar Crystals
Looking for a sweet and fun project? Try making edible sugar crystals. This project lets you see how crystals grow and enjoy tasty treats.

You’ll need a few simple things: 1 cup of water, 4 cups of sugar, mason jars, string, edible glitter, food coloring, and straws.
First, mix 4 cups of sugar with 1 cup of water until it’s fully dissolved. This makes a perfect solution for growing crystals.
Next, set up your jars for crystal growth. Fill the jars with the sugar solution, leaving some room at the top. Add food coloring and glitter for colorful crystals.
Then, prepare a string to hang into the jar. Use a straw as a weight. Make sure the string is fully coated in the solution. Hang it in the jar, away from the sides and bottom.
Put your jars in a cool, dry spot. Let the crystals form as the solution evaporates. It might take about 8 days for them to grow fully.
While waiting, you can play with different variables to see how they affect crystal growth. Try changing the sugar concentration, sugar type, or temperature. Watch the crystals grow at different times to see how they change.
While waiting, you can also try different flavors and colors for your crystals. For example, raspberry extract with blue food coloring makes blue raspberry rock candy. Cinnamon oil with red coloring is great for winter. Peppermint extract with blue-green coloring is another favorite. You can also use maple extract for a classic taste, or try star anise, tutti-frutti, green apple, buttered rum, cherry, or grape for different flavors.
When your crystals are ready, take them out of the jar carefully. You can wrap them up or keep them in a big jar. Enjoy your delicious homemade crystals!
Explore the Art of Crystal Jewelry Making
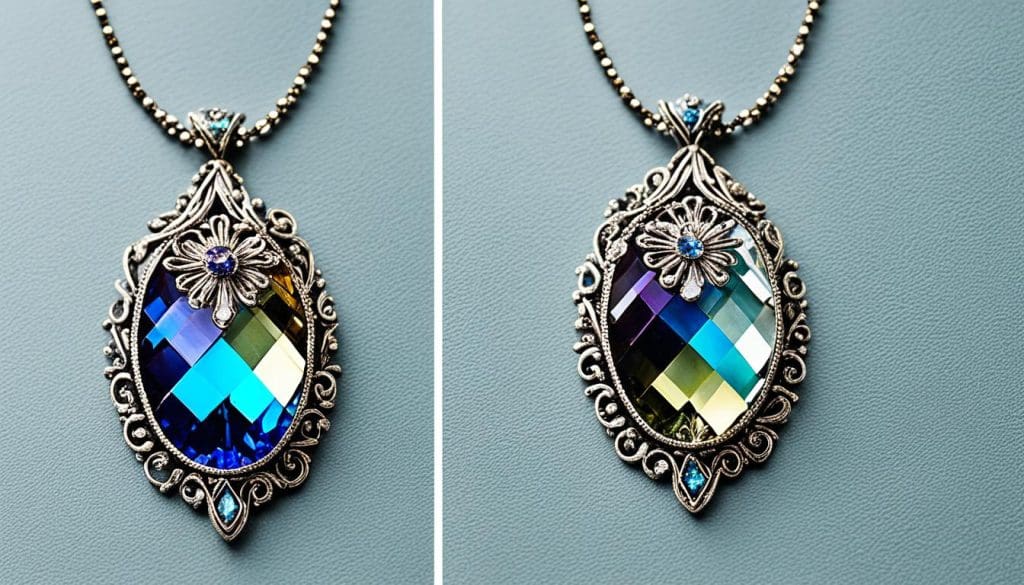
Crystal jewelry making combines the beauty of crystals with the joy of making your own accessories. With many types of crystals to choose from, you can express your style through DIY jewelry. This hobby lets you be creative and personal.

Quartz is a top choice for crystal jewelry because of its beauty and versatility. But you can also use glass, stone, wood, resin, and metal in your designs. This variety lets you be creative and unique.
Having the right tools is key when making crystal jewelry. You might need drills, saws, soldering tools, and safety gear like goggles or gloves. These tools help you make your jewelry beautiful and safe.
You can make your crystal jewelry stand out with extra details. Try glitter, scented markers, stickers, paints, and varnishes to add a personal touch.
Crafting Stunning Crystal Jewelry
Making crystal jewelry is both an art and a fun process. Here are some tips to improve your projects:
Take your time: Enjoy making jewelry. Let your creativity flow and take your time.
Use different materials: Try various stones, beads, gems, pearls, clay, feathers, and more. This adds depth to your jewelry.
Be creative: Let your imagination run wild. Experiment with shapes, colors, and patterns.
Focus on safety: Always wear safety gear like goggles and gloves when using tools.
Sketch your ideas: Write down your ideas before starting. This helps you plan and make changes if needed.
Learn about crystals: Understand the meanings and properties of different crystals. Use their energies in your jewelry.
Be patient: Making detailed crystal jewelry takes time and skill. Enjoy improving your craft.
Invest in storage: As you make more jewelry, get good storage to keep your pieces safe and organized.
If you need inspiration, check out “name”, a top jewelry designer and TV star. Her book “name” has 25 crystal jewelry projects for all skill levels.
“name” covers many techniques, like using Apoxie Sculpt and making molds. It’s great for beginners. The book has clear instructions, supply lists, tips, and advice to help you succeed.
Each project comes with detailed instructions, beautiful photos, and step-by-step pictures. This ensures you have everything you need to make stunning jewelry.
“name” is a leader in jewelry design, and her book is a great guide to making crystal jewelry.
Whether you’re new or experienced, making crystal jewelry lets you show off your creativity. You can use crystals’ energy and wear unique, handmade accessories.
Infuse Crystal Energy into Home Decor
Crystal creativity projects go beyond crafts and jewelry. You can bring crystal energy into your home decor too. This trend shows how people want nature in their homes and positive vibes.
Choosing crystals for your decor depends on what you want, like relaxation or love. For example, Black Tourmaline guards against negative energy in entryways and offices. Rose Quartz spreads love in bedrooms and family rooms. Amethyst is perfect for meditation areas, and Clear Quartz clears and balances any space.
DIY crystal grids are a fun way to add crystals to your decor. By arranging crystals in patterns, you boost their energy and make your decor stand out. You can put them on shelves, walls, or even in coasters and candle holders. Crystal grids make your space beautiful and full of positive energy.
Crystal chips offer endless possibilities for your projects. Add them to plant pots for health and growth or make a healing pouch. You can also use them in terrariums or art. This lets you personalize your decor with crystal energy that matches your style and goals.
