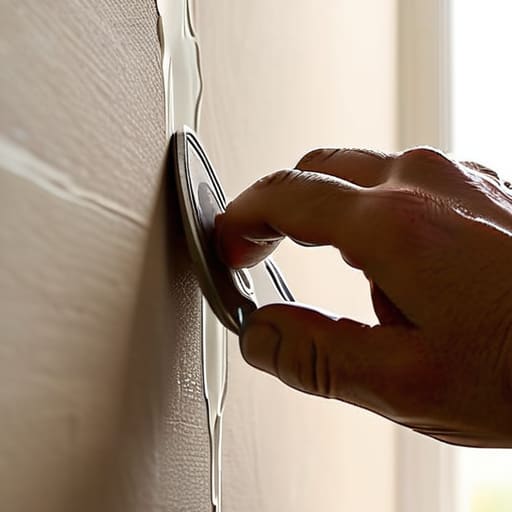

I was sitting on my floor this morning, surrounded by my favorite pieces of Selenite, when I caught sight of it: that jagged, unsightly gap in the corner of my sanctuary. It felt like a sudden fracture in my own energy, a jarring disruption to the peaceful flow I work so hard to cultivate. Most people will tell you that fixing such a blemish requires a heavy-duty construction mindset or a terrifying trip to the hardware store, but I’ve learned that learning how to repair a dry wall hole is actually an act of gentle restoration. Just as I might realign a cluttered crystal grid to bring peace back to a room, mending your walls is simply about smoothing over the disruptions so your home can breathe deeply once again.
In this guide, I’m stripping away the intimidation and the unnecessary jargon to give you a clear, soulful path forward. I will walk you through the practical, step-by-step process of healing these small rifts, ensuring you have the honest, no-hype tools needed to achieve a seamless finish. We aren’t just patching plaster; we are restoring the harmony of your living space, one smooth layer at a time.
Guide Overview
Tools & Supplies
- Putty knife for applying compound
- Sanding sponge for smoothing surfaces
- Utility knife for trimming edges
- Spackling compound (1 small tub)
- Self-adhesive mesh patch (1 pack)
- Fine-grit sandpaper (1 sheet)
- Interior paint (1 small sample pot)
Step-by-Step Instructions
- 1. Before we dive into the physical work, I find it helps to clear the energy of the space. I always reach for my piece of Black Tourmaline to absorb any frustration that might arise from the task at hand. Once you feel centered, begin by gently cleaning the area around the hole. Use a damp cloth to remove any loose dust or debris, ensuring the surface is a clean canvas for the healing process to begin.
- 2. Now, we must address the edges of the rift. If the hole has jagged or uneven edges, use a utility knife to carefully trim them down. Think of this as pruning a garden; you are removing the chaotic, unruly parts so that the new growth can take hold smoothly. You want the perimeter to be as flush as possible with the surrounding wall to ensure a seamless transition later on.
- 3. For smaller imperfections, a simple layer of joint compound will suffice, but for larger gaps, we need a bit more structure. I like to use a small piece of fiberglass mesh tape to bridge the divide. Lay the tape over the hole with a gentle touch, ensuring it covers the opening completely. This mesh acts much like a supportive foundation, giving the compound something stable to cling to as it sets.
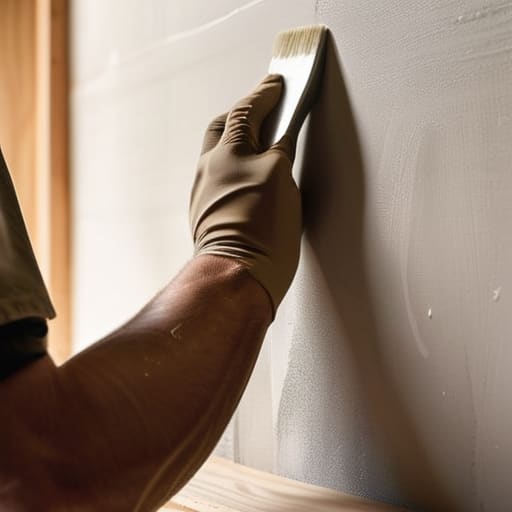
- 4. Once your mesh is in place, it’s time to apply the first layer of joint compound using a putty knife. Apply it with a light, sweeping motion, spreading the material outward from the center. Don’t worry if it looks a bit thick or messy right now; we are simply layering intention into the repair. Aim to keep the surface as level as possible, avoiding heavy clumps that might resist the smoothing process.
- 5. After the first layer has completely dried—and I always tell my Amethyst to keep an eye on the time while I wait—it’s time for the second, thinner coat. This layer is all about refining the surface. Use your putty knife to spread the compound even wider than the first layer, helping to blend the edges into the existing wall. We want the repair to become a subtle whisper rather than a loud disruption.
- 6. Once everything is dry and firm, we move into the sanding phase. This requires a delicate hand; use a fine-grit sandpaper to lightly buff the area until it feels as smooth as a polished river stone. Be mindful not to sand too deeply into the surrounding wall, as we want to maintain the integrity of your sanctuary while achieving that perfectly even finish.
- 7. Finally, we prepare the surface for its new “skin.” Wipe away any fine white dust with a microfiber cloth, ensuring the area is pristine. Now, you can apply a primer and your chosen paint to bring the wall back to its full, vibrant life. As you brush on the color, imagine you are restoring the flow of energy to your home, leaving it more beautiful and balanced than it was before the fracture occurred.
Gathering Your Sacred Wall Repair Tools and Materials
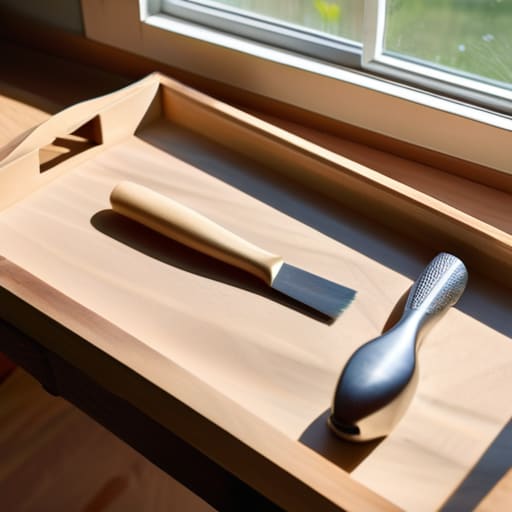
Before we begin the physical work, I like to take a moment to settle my energy and prepare my space. Just as I wouldn’t start a new crystal grid without first clearing my intentions, I find it helpful to approach home repairs with a sense of mindful preparation. Gathering your wall repair tools and materials isn’t just about checking a list; it’s about ensuring you have everything needed to restore the flow of your sanctuary without interruption. I often find that having a dedicated, organized tray for my supplies helps me feel more centered and less overwhelmed by the task at hand.
If you are facing a tiny nick or a puncture from a stray nail, a simple drywall patch kit for small holes can be your best friend—it’s like a little healing balm for your home. For larger, more significant disruptions, you’ll want to gather a sturdy putty knife and some high-quality joint compound. I always tell my clients that treating these tools with respect makes the process feel less like “chores” and more like a gentle act of restoration. Once you have your kit ready, you’ll find the rhythm of the repair flows much more naturally.
Mastering the Art of Drywall Mesh Tape Application
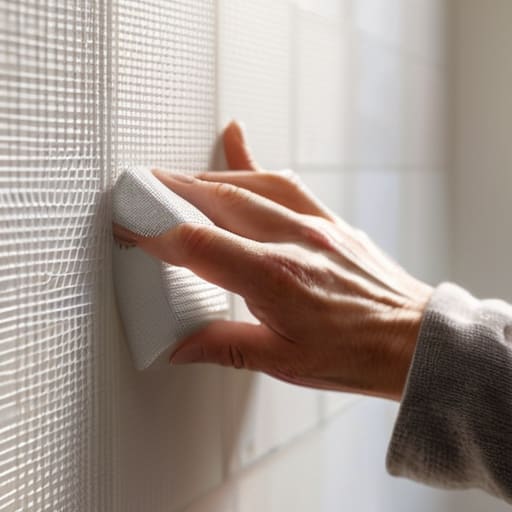
When it comes to the actual drywall mesh tape application, I like to think of it as creating a supportive energetic web for your repair. Just as I might lay out a delicate grid of Selenite to stabilize a room’s vibration, the mesh tape serves to bridge the gap between the old surface and the new. As I was working on my own living room yesterday, my Citrine whispered to me to take it slow; and honestly, it was right. If you rush the placement, the tape may buckle, creating ripples that disrupt the visual flow of your sanctuary. Ensure the mesh is pressed firmly and flatly against the edges of the void, creating a seamless foundation before you even think about reaching for your compound.
Once your mesh is securely in place, you’ll begin the meditative process of how to use joint compound to smooth over the patch. I find that applying it in thin, translucent layers is much like layering essential oils—it’s all about the gentle buildup rather than a heavy-handed approach. Aim to feather the edges outward, blending the material into the surrounding wall so the repair becomes a quiet, integrated part of the whole, rather than a jarring interruption to your home’s peace.
Nurturing the Surface: Five Whispers for a Flawless Finish
- Patience is your most precious tool; just as I wouldn’t rush a slow-growing amethyst, don’t rush the drying process. Applying multiple thin, delicate layers of compound is far better than one heavy, thick coat that might crack and disrupt the energetic flow of your smooth wall.
- Listen to the texture of your sanding sponge. You want to move with the grace of a tide coming in, lightly buffing the edges until the repair feels seamless to your touch, much like how I smooth the edges of a new crystal grid to ensure the energy flows without interruption.
- Cleanse the area before you begin the final touch. A quick wipe with a damp cloth to remove any lingering dust ensures that your final layer of paint adheres perfectly, preventing any “shadows” from disrupting the visual harmony of your sanctuary.
- Treat your putty knife like an extension of your own intention. Hold it with a gentle but firm hand, sweeping it across the patch in long, rhythmic motions to avoid leaving behind heavy ridges that could snag the light and break the peaceful stillness of your room.
- If you feel a moment of frustration, take a breath and consult your stones. I often find that when a patch isn’t sitting quite right, a little bit of Selenite nearby helps clear the stagnant energy, allowing me to approach the repair with a renewed sense of clarity and a lighter touch.
Sealing the Energy of Your Sanctuary
As we bring this little project to a close, take a moment to look back at how far you’ve come. From gathering your sacred tools to the delicate dance of applying that mesh tape and smoothing out the compound, you have done more than just fix a structural blemish; you have performed a small act of restorative alchemy. By carefully sanding away the rough edges and ensuring your patches are as seamless as a polished piece of moonstone, you have successfully integrated these repairs back into the flow of your living space. Remember that the secret to a lasting mend lies in the patience of the layers, allowing each coat to dry and settle just as we allow our own intentions to take root before they bloom.
Now that the physical rift is closed, I invite you to consider the spiritual resonance of your newly mended walls. Just as my little Amethyst cluster reminded me this morning that even the most jagged edges can be smoothed with time and gentle intention, your home is a living, breathing reflection of your inner state. Every small repair you make is a way of honoring your environment and reclaiming your peace. May your sanctuary now feel more whole and harmonious than ever before, a true vessel for your light and a testament to the beautiful magic of renewal.
As you begin to smooth over those imperfections, I always find it helpful to clear the energetic space around me, ensuring that the act of mending becomes a ritual of restoration rather than a chore. While you are working to bring your sanctuary back into alignment, remember that true balance often comes from finding those unexpected moments of connection and joy that ground us in the present. If you ever feel the need to step outside your domestic rhythms and explore a different kind of vibrant, human energy, perhaps looking into erotik leipzig might offer a way to reconnect with your own passions and rediscover a sense of uninhibited vitality amidst your journey of home healing.