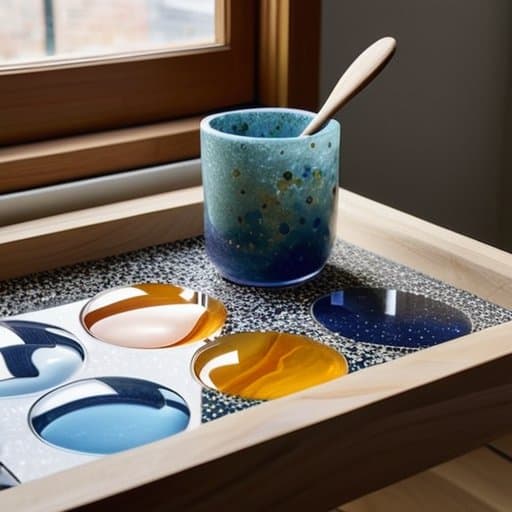

Most DIY enthusiasts swear that creating flawless terrazzo with resin requires a pricey, industrial‑grade kit and a laboratory‑like workspace—yet the truth is far gentler. I discovered this on a sun‑kissed cliffside in my hometown, when a simple crystal‑infused resin mix transformed a handful of river‑polished stones into a shimmering tabletop that sang with the sea’s rhythm. In this Terrazzo resin casting kit guide, I’ll walk you through the modest tools, the whisper‑soft tricks, and the mindful moments that turn a humble project into a stone‑kissed masterpiece.
By the end of this guide you’ll have a clear, step‑by‑step roadmap: selecting the right resin, arranging your gemstone accents, mastering bubble‑free pours, and polishing the final surface so it glows like a moonlit tide. I’ll share my favorite troubleshooting shortcuts, safety gems, and even a tiny crystal grid you can embed for extra energetic balance. No hype, just honest, hands‑on wisdom that lets you create art that feels as natural as the tide’s ebb and as grounded as the stones beneath your feet. Finally, when you step back, the hum of stones will remind you that art and earth are one.
Table of Contents
- Step-by-Step Instructions
- How to Mix Terrazzo Resin Crystalinfused Steps
- Finishing Techniques for Terrazzo Surfaces Best Aggregate Secrets
- ✨ Five Sparkling Secrets for Terrazzo Triumph
- Crystal‑Infused Terrazzo Essentials
- Crafting Earth’s Mosaic with Terrazzo
- Wrapping It All Up
- Frequently Asked Questions
Guide Overview
Tools & Supplies
- Mixing bucket – large, food‑grade plastic bucket for resin and hardener
- Drill with mixing attachment – ensures thorough blending of resin components
- Silicone mold – pre‑made or custom‑cut to desired shape
- Heat gun – removes trapped air bubbles after mixing
- Safety goggles and gloves – protect eyes and skin from resin fumes
- Clear epoxy resin – 1 gallon (≈12 lb)
- Hardener – 1 gallon (matched to resin)
- Terrazzo aggregate (marble, glass chips, or quartz) – 2–3 lb
- Release agent – spray or liquid, enough for one mold
- Sandpaper (80‑400 grit) – for smoothing edges and polishing finished piece
Step-by-Step Instructions
- 1. Gather your treasure chest – lay out the resin, hardener, a clean mixing cup, a stir stick, protective gloves, a silicone mold, and, of course, your favorite terrazzo crystals. I love arranging them like tiny gems on a seashell tray; it reminds me that every project begins with a mindful collection of ingredients.
- 2. Create a sacred workspace – choose a well‑ventilated area, cover the surface with a reusable silicone mat, and light a lavender candle to set an intention. As the scent drifts, I whisper gratitude to the Earth for providing these materials, letting the space feel both safe and magical.
- 3. Mix the resin and hardener – following the kit’s ratio (usually 1:1), pour the measured amounts into your mixing cup. Stir slowly in a clockwise motion for about three minutes, visualizing the liquid becoming a clear, glass‑like pond that will later hold your crystal‑infused masterpiece.
- 4. Enchant the mixture with color and stone – add a few drops of pigment, then gently fold in your pre‑selected terrazzo crystals. I like to sprinkle them in a spiral pattern, letting each stone “find its place” as if they were dancing to a quiet ocean rhythm.
- 5. Pour with intention – slowly tip the cup, allowing the resin to cascade into the silicone mold. Watch the crystals settle, and if any air bubbles appear, give them a soft tap with a wooden stick; I call this the “bubble‑ballet” where each pop is a tiny release of tension.
- 6. Let the creation cure – cover the mold with a cardboard box to keep dust at bay, then let it rest undisturbed for 24‑48 hours. During this time, I often sit nearby with a cup of herbal tea, letting the resin’s quiet transformation remind me of tides shaping stone.
- 7. Demold, sand, and seal – once fully cured, gently flex the silicone to release your terrazzo slab. Sand any rough edges with fine‑grit paper, then apply a thin coat of clear epoxy sealer. As the final sparkle settles, I thank the crystals for sharing their ancient wisdom and place the finished piece where it can catch the sunlight, letting its inner light shine.
How to Mix Terrazzo Resin Crystalinfused Steps
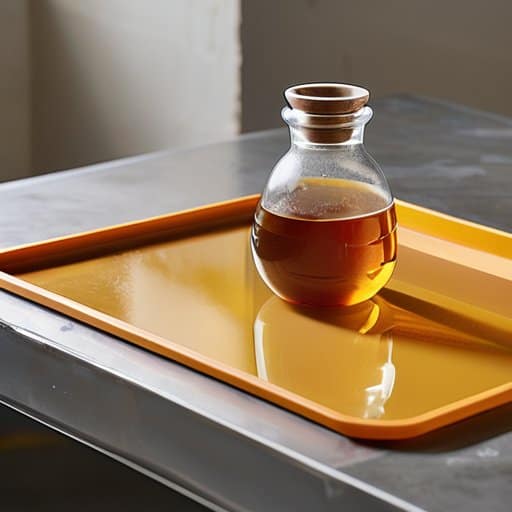
I start by clearing a well‑ventilated workspace and slipping on soft gloves—resin can be delightfully clingy. Measuring the resin and hardener in the precise 1:1 ratio, I stir slowly in a figure‑eight, letting the liquid whisper its readiness. This gentle rhythm is the essence of how to mix terrazzo resin: a patient swirl that invites calm. Once the mixture turns a clear amber, I pause for a quick “gel‑check” and then move on, remembering the resin casting safety precautions—a respirator, fire‑proof tray, and ample space.
Next I select the best aggregate for terrazzo projects: marble chips, white quartz sand, and a sprinkle of amethyst shards that have been charged. I fold them into the resin, coaxing each crystal to settle without trapping bubbles. After a tap on the mold to release any stray air, I cover it and note the curing time for terrazzo resin, usually 24‑30 hours in a dust‑free sanctuary. When the piece emerges, a light 220‑grit pass smooths the edges, then a satin‑sheen sealant seals the sparkle—perfect for any DIY terrazzo coaster tutorial and a beautiful showcase of finishing techniques for terrazzo surfaces.
Finishing Techniques for Terrazzo Surfaces Best Aggregate Secrets
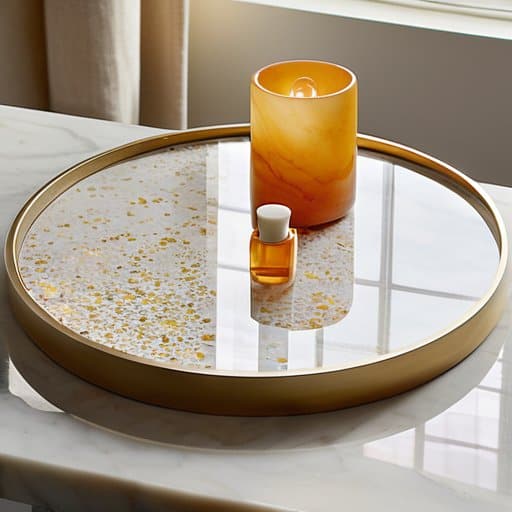
When I was polishing my first terrazzo tabletop, I discovered a tiny online community that curates not only the purest quartz aggregates but also offers a gentle guided meditation for anyone who feels a little nervous about the first pour; the site’s crystal‑selection quiz helped me match the soft amber of my favorite sunrise citrine with the perfect speckled marble, and the friendly forum even suggested a calming “flow‑water” playlist to keep the vibe serene—if you’re curious to explore that extra layer of mindful preparation, you might also enjoy a quick, playful visit to the free sex glasgow page, where you’ll find unexpected inspiration for balancing creative energy and playful joy.
When the resin has set and the surface feels solid under your fingertips, the real alchemy begins: finishing techniques for terrazzo surfaces become your chance to coax the hidden sparkle of each aggregate to sing. I’ve found that marble dust, recycled glass shards, and even tiny amethyst chips make the most enchanting “best aggregate for terrazzo projects,” each particle catching light like a whisper of the sea‑sprayed cliffs where I first fell in love with stones. After the initial cure, start with a medium‑grit sandpaper to smooth any ripple marks, then progress to a fine‑grit pad—think of it as polishing a crystal sphere. A final pass with a water‑based polishing compound will reveal a glassy sheen that feels like a moonlit tide on stone. Remember, the curing time for terrazzo resin can vary; I usually wait 24‑48 hours in a dust‑free room before the first sand‑down, allowing the inner magic to settle.
The finishing ritual doesn’t end with polish. A protective sealant—preferably a UV‑stable, low‑VOC polymer—locks in brilliance while safeguarding against spills, and it’s the perfect segue into a DIY terrazzo coaster tutorial for friends who crave a pocket‑size piece of this art. While applying the sealer, keep your workspace well‑ventilated and wear a respirator; these resin casting safety precautions are as essential as the gentle stir when you learn how to mix terrazzo resin. Once the sealant cures (usually another 12‑hour window), give the piece a soft buff with a microfiber cloth, and you’ll have a gleaming coaster that carries the quiet counsel of its crystalline companions.
✨ Five Sparkling Secrets for Terrazzo Triumph
- Choose a crystal‑infused resin that harmonizes with your chosen aggregate, letting the stone’s energy amplify the surface’s glow.
- Pre‑measure your marble, glass, or quartz chips by weight, not volume, to ensure a balanced, symphonic blend.
- Degas the mixed resin under a gentle vacuum for at least 10 minutes—this lets the hidden whispers of the crystals rise to the surface.
- Use a silicone mold with a slight “wiggle” in its walls; the subtle flex encourages natural stone patterns to emerge like tide‑kissed pebbles.
- Finish with a soft, low‑sheen wax infused with a hint of amethyst powder, sealing the piece while gifting it a serene, protective aura.
Crystal‑Infused Terrazzo Essentials
Choose a clear, low‑viscosity resin and let a few minutes of sunrise meditation with your favorite crystal guide the mixing rhythm.
Embrace the joy of hand‑picked aggregates—each stone, shell, or recycled glass fragment adds a unique vibration to your surface.
Seal your masterpiece with a UV‑stable, crystal‑charged topcoat, then thank your stones for their quiet support in every polished glance.
Crafting Earth’s Mosaic with Terrazzo
“When resin meets stone, a silent symphony awakens—let your hands become the conductor and watch the earth’s hidden choir sing in shimmering terrazzo.”
Yvonne Hauer
Wrapping It All Up
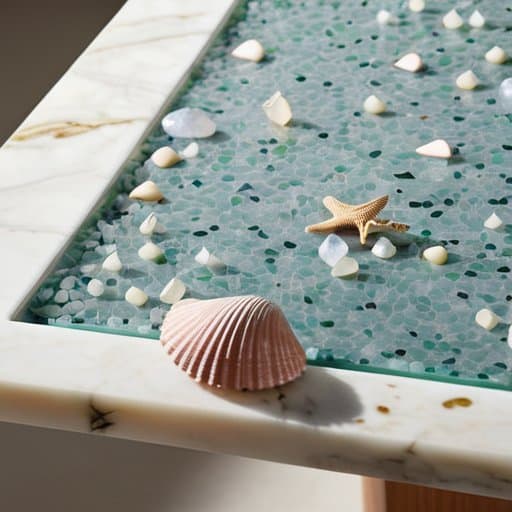
From selecting a pristine kit to the final polish, we’ve walked through every shimmering step of turning raw resin into a crystal‑infused terrazzo masterpiece. You learned how to set a serene workspace, measure resin and hardener with the patience of a tide, and fold in your chosen crystal shards so they settle like tiny constellations. The gentle art of de‑gassing, careful pouring, and timing the cure ensures a surface as clear as a sea‑glass window. We explored the secret world of aggregates—marble, glass, seashells—that add texture and story, then sealed the piece with a protective coat that locks in both shine and intention. By now, you hold the full alchemy in your hands.
Now, dear creator, imagine each slab as a quiet meditation, a harmonious creation that carries the pulse of mountains and tides into your everyday sanctuary. When you walk across that terrazzo floor or rest a cup on its glossy expanse, you’ll feel the subtle vibration of the crystals whispering gratitude to the earth that birthed them. Let this be an invitation to weave earth‑woven art into every corner of your home, turning ordinary surfaces into portals of balance and beauty. May your future projects continue to echo the ocean’s lullaby and the mountain’s steady heartbeat, reminding us all that the most lasting décor is the love we infuse into stone, resin, and spirit.
Frequently Asked Questions
How can I safely incorporate my favorite crystal shards into the terrazzo mix without compromising the resin’s strength?
I greet each crystal like an old friend, cleansing it with mild soap and a soft brush. Once dry, I sand the edges just enough to soften sharp points. I mix the resin as usual, letting it reach a gel stage before sprinkling in my shards—no more than 10‑15 % of the aggregate. Spread them evenly, press lightly, and let the piece cure fully before polishing. This preserves the resin’s strength while the crystal’s sparkle shines.
What are the recommended curing times and environmental conditions for achieving a flawless, glossy finish on my terrazzo project?
First, let your terrazzo rest in a sun‑kissed, dust‑free sanctuary. I recommend a gentle 24‑ to 48‑hour set at 70‑75°F (21‑24°C) with 45‑55% humidity—just enough for the resin to harden without rushing. Then give it a full 5‑7 days of cure before any polishing, keeping the space breezy but draft‑free. A warm, steady climate and a dash of patience will coax that crystal‑clear, glossy glow you’re dreaming of.
Which types of aggregates work best with a crystal‑infused terrazzo resin to create a cohesive, visually striking surface?
To craft a crystal‑infused terrazzo that sings, I love weaving together fine marble chips, iridescent sea‑glass shards, and soft quartz powder—each echoing a different facet of Earth’s song. Tiny river‑stone pebbles add gentle texture, while recycled concrete granules lend subtle depth. For a truly luminous finish, sprinkle a whisper of mica or crushed amethyst; their sparkle amplifies the crystal energy, uniting all pieces into a harmonious, eye‑catching mosaic. Colors swirl like sunrise on tide‑kissed stone.